Post Production Assignments – AP
Before you begin – you may want to download and print out this. It is awesome:
photoshop-keyboard-shortcuts
The purpose of this assignment is to ensure that you are using more advanced techniques on Photoshop (or another digital editing program) or in the darkroom.
You are required to put these assignments on flickr.
The edited images you create can certainly (and expected to) be included in your normal studio assignment submissions on flickr.
Where to find techniques?
Ask fellow students
Go online and research alternative post production techniques in the darkroom or Photoshop?Lightroom.
www.photoshopessentials.com
This above website a GREAT resource for this.
YouTube has explanations.
I have several books on darkroom and digital imaging techniques.
Ask your teachers
Ask other experienced photographers.
These should be more involved techniques (not just adjusting the color or levels on Photoshop, or using a filter on a darkroom image). I would expect you to be using adjustment layers, montage techniques, multiple layers, selections, etc. in digital editing. However, if you plan to be learning more about Curves in Photoshop, for example, you can turn in the same image several times with various adjustments to curves.
When you upload your images to flickr, you must include the image(s) you used before you edited them and then the edited image. For darkroom, you can scan the negative if you prefer not to print out the image in full before post-production. You must also take a screen shot of the image opened up in Photoshop with the layers or adjustment window open and post this on flickr with your before and after images.
There must be one album flickr labeled like this: PPA 1-6 (PPA stands for Post Production Assignment). If perchance if one of your PPA takes a very long time, it can count for two with teacher approval given first. Please arrange your images in the album showing the before image(s), screenshot of the image open in Photoshop or Lightroom, and the final image last.
How to make a screen shot and save it?
-
On a PC, have your image open on Photoshop and make sure all of the adjustment layers or adjustment window are showing. Strike the Print Screen button on your keyboard.
-
Go to the File tab on Photoshop and select “New”. It will say “Clipboard” in the Preset box. Click “OK” and then press “Ctrl V” to paste the image in the file. It will default as a PSD. Save the file as a JPEG and then upload it to your set on flickr.
-
You can also use other programs such as Paint to open and save your screen shot.

Luke Magnante – screenshot of some of his PPA album

Liam Carter – screenshot of some of his PPA album
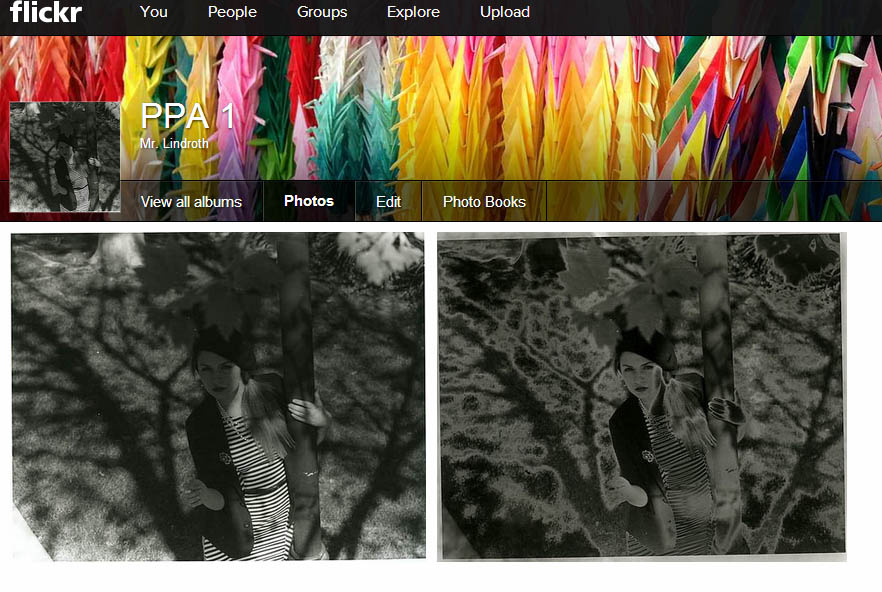
Chance Bublitz PPA – darkroom
Photoshop Essentials (www.photoshopessentials.com)
Darkroom Post-Production Samples: Post-Production Manipulations